

A nail correction brace is rarely a one-visit job. The client comes back several times, the brace gets checked and adjusted or replaced, and sometimes another specialist in the practice takes over. If each step is recorded in a line or two of vague text, every check-up starts with guesswork. Recording braces the same way each time lets you open the card and see where the course stands.
Why correction needs its own record
General visit notes give the overall picture, but a brace is a specific device on a specific nail. Over a course of treatment you will keep coming back to the same questions:
- Which toe and which side of the nail is being corrected?
- Which system was used, and was it changed along the way?
- What did the brace and the nail look like at the last check?
- What did you plan to do next time?
If every visit answers them in the same place, you can read the course from start to finish in a minute.
What to note when the brace is installed
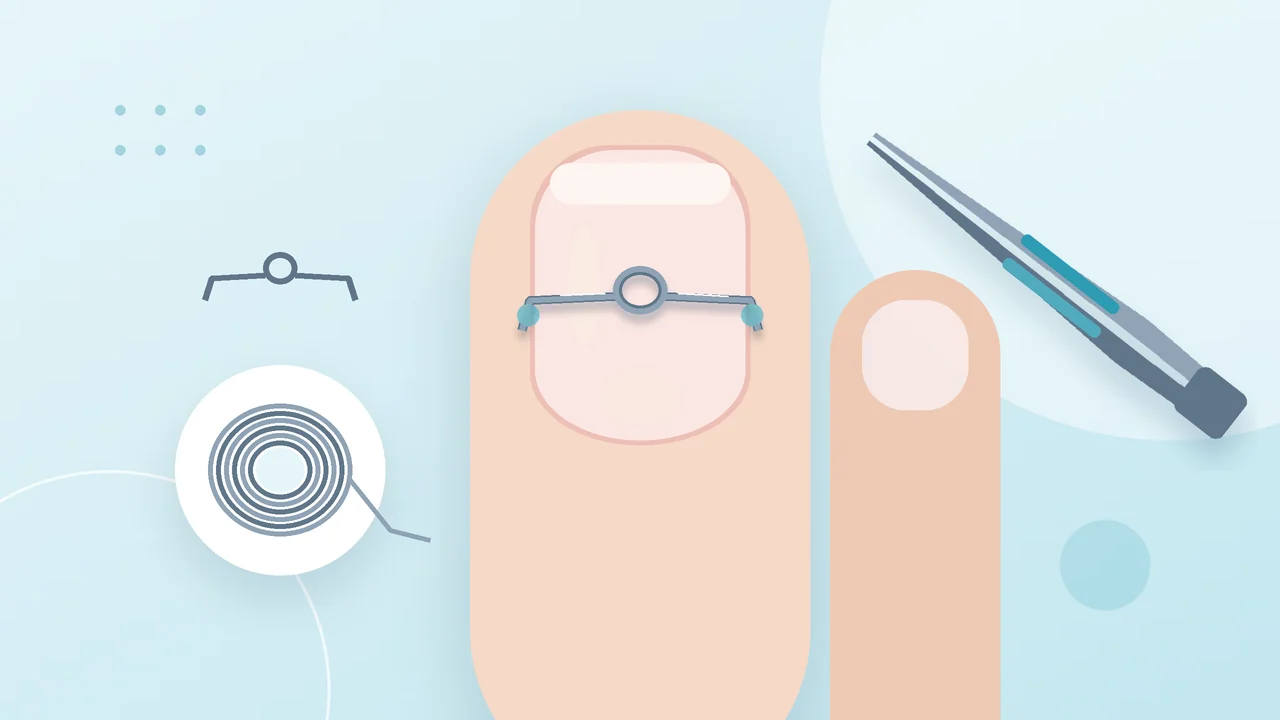
The first visit is the baseline for every later check. Write down which toe it is and on which foot. It sounds obvious, but it is the first thing a colleague will look for. Then the system you chose: if you work with several, you will need this when you plan the next step.
Add the details of the installation you will want later, such as the wire diameter or how the brace was fixed. Describe the nail and the surrounding skin in your own words: what you saw and what bothered the client. Stick to what you observed and did; a general impression like "looks better" will mean little in a few weeks.
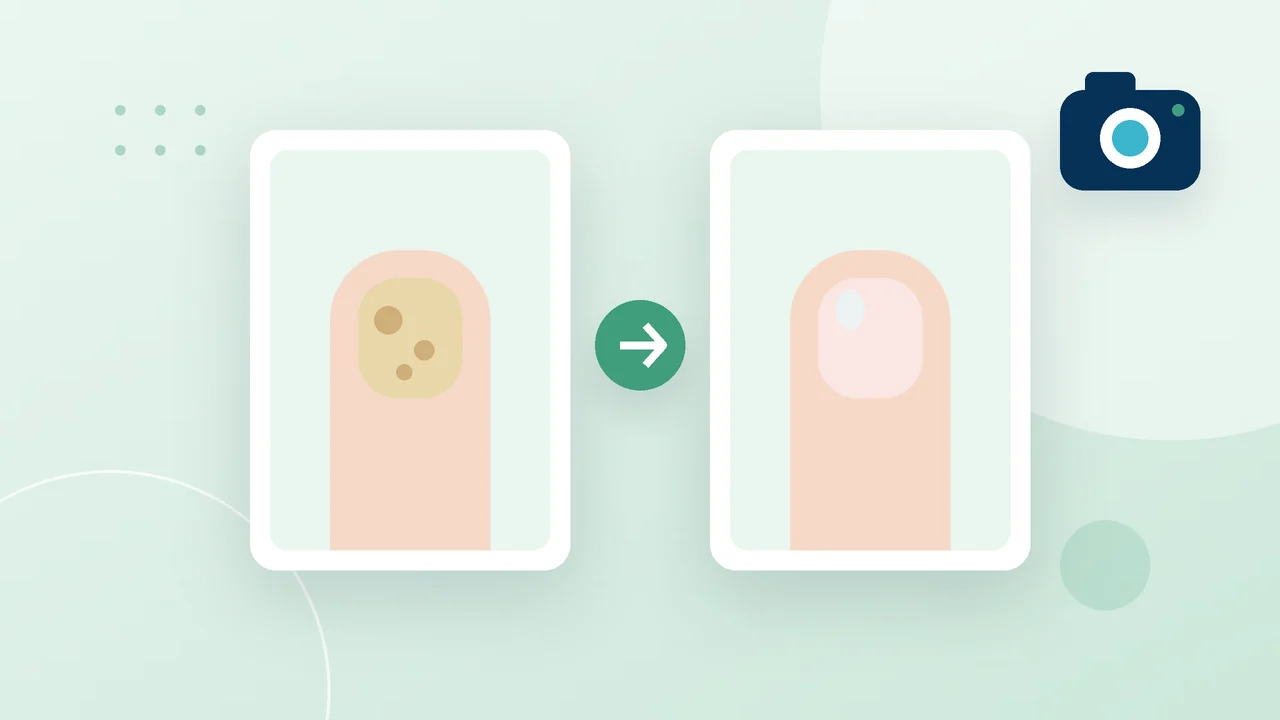
Take photos before the brace goes on and right after, from the angle you plan to use at later visits.
What to record at each check-up
Follow-up visits are where most records get vague. A line like "brace checked, all fine" tells the next reader almost nothing. A useful check-up note is short and covers a few points:
- The state of the brace: in place, loosened, displaced, adjusted, replaced or removed.
- How the nail has changed since the previous visit, in plain words.
- What the client reports: comfort, pain, trouble with shoes, anything they noticed at home.
- What you did today, even if it was only the check.
- New photos, taken the same way as before.
- What you expect to do at the next visit.
That last point is the one people skip most, and the one you will be glad to find when the client comes back, or when a colleague sees them instead of you.
Photos that show the course
In correction work, photos often show the change more clearly than any note. Shoot the corrected nail at every visit, including the ones in the middle of the course. Keep the framing consistent so that pictures from different weeks can be put side by side, and attach each photo to its visit so the date is never in doubt.
A side-by-side comparison of their own nail usually explains the progress to a client better than words, which helps most when the course takes longer than they hoped.
When a colleague continues the course
In a practice with more than one specialist, a client may come to a check-up with someone else. After each visit, ask yourself whether another specialist could read the record and know which toe, which system, what was done last time and what comes next. If something is missing, add the line before the client leaves.
Agree within the team on a few common words for the state of a brace, so that "displaced" or "adjusted" means the same thing in everyone's notes.
Keeping it in one card
In PodoCard, each visit has a section for correction systems. For every installation you pick the system from the list, mark the digit and its state, and add a note, for example the diameter. Photos are attached to the same visit, and the client's gallery collects them by date, so two to four shots can go into a before-and-after collage. Only the specialist who created a visit can edit it; the rest of the team can open it to read.